AR

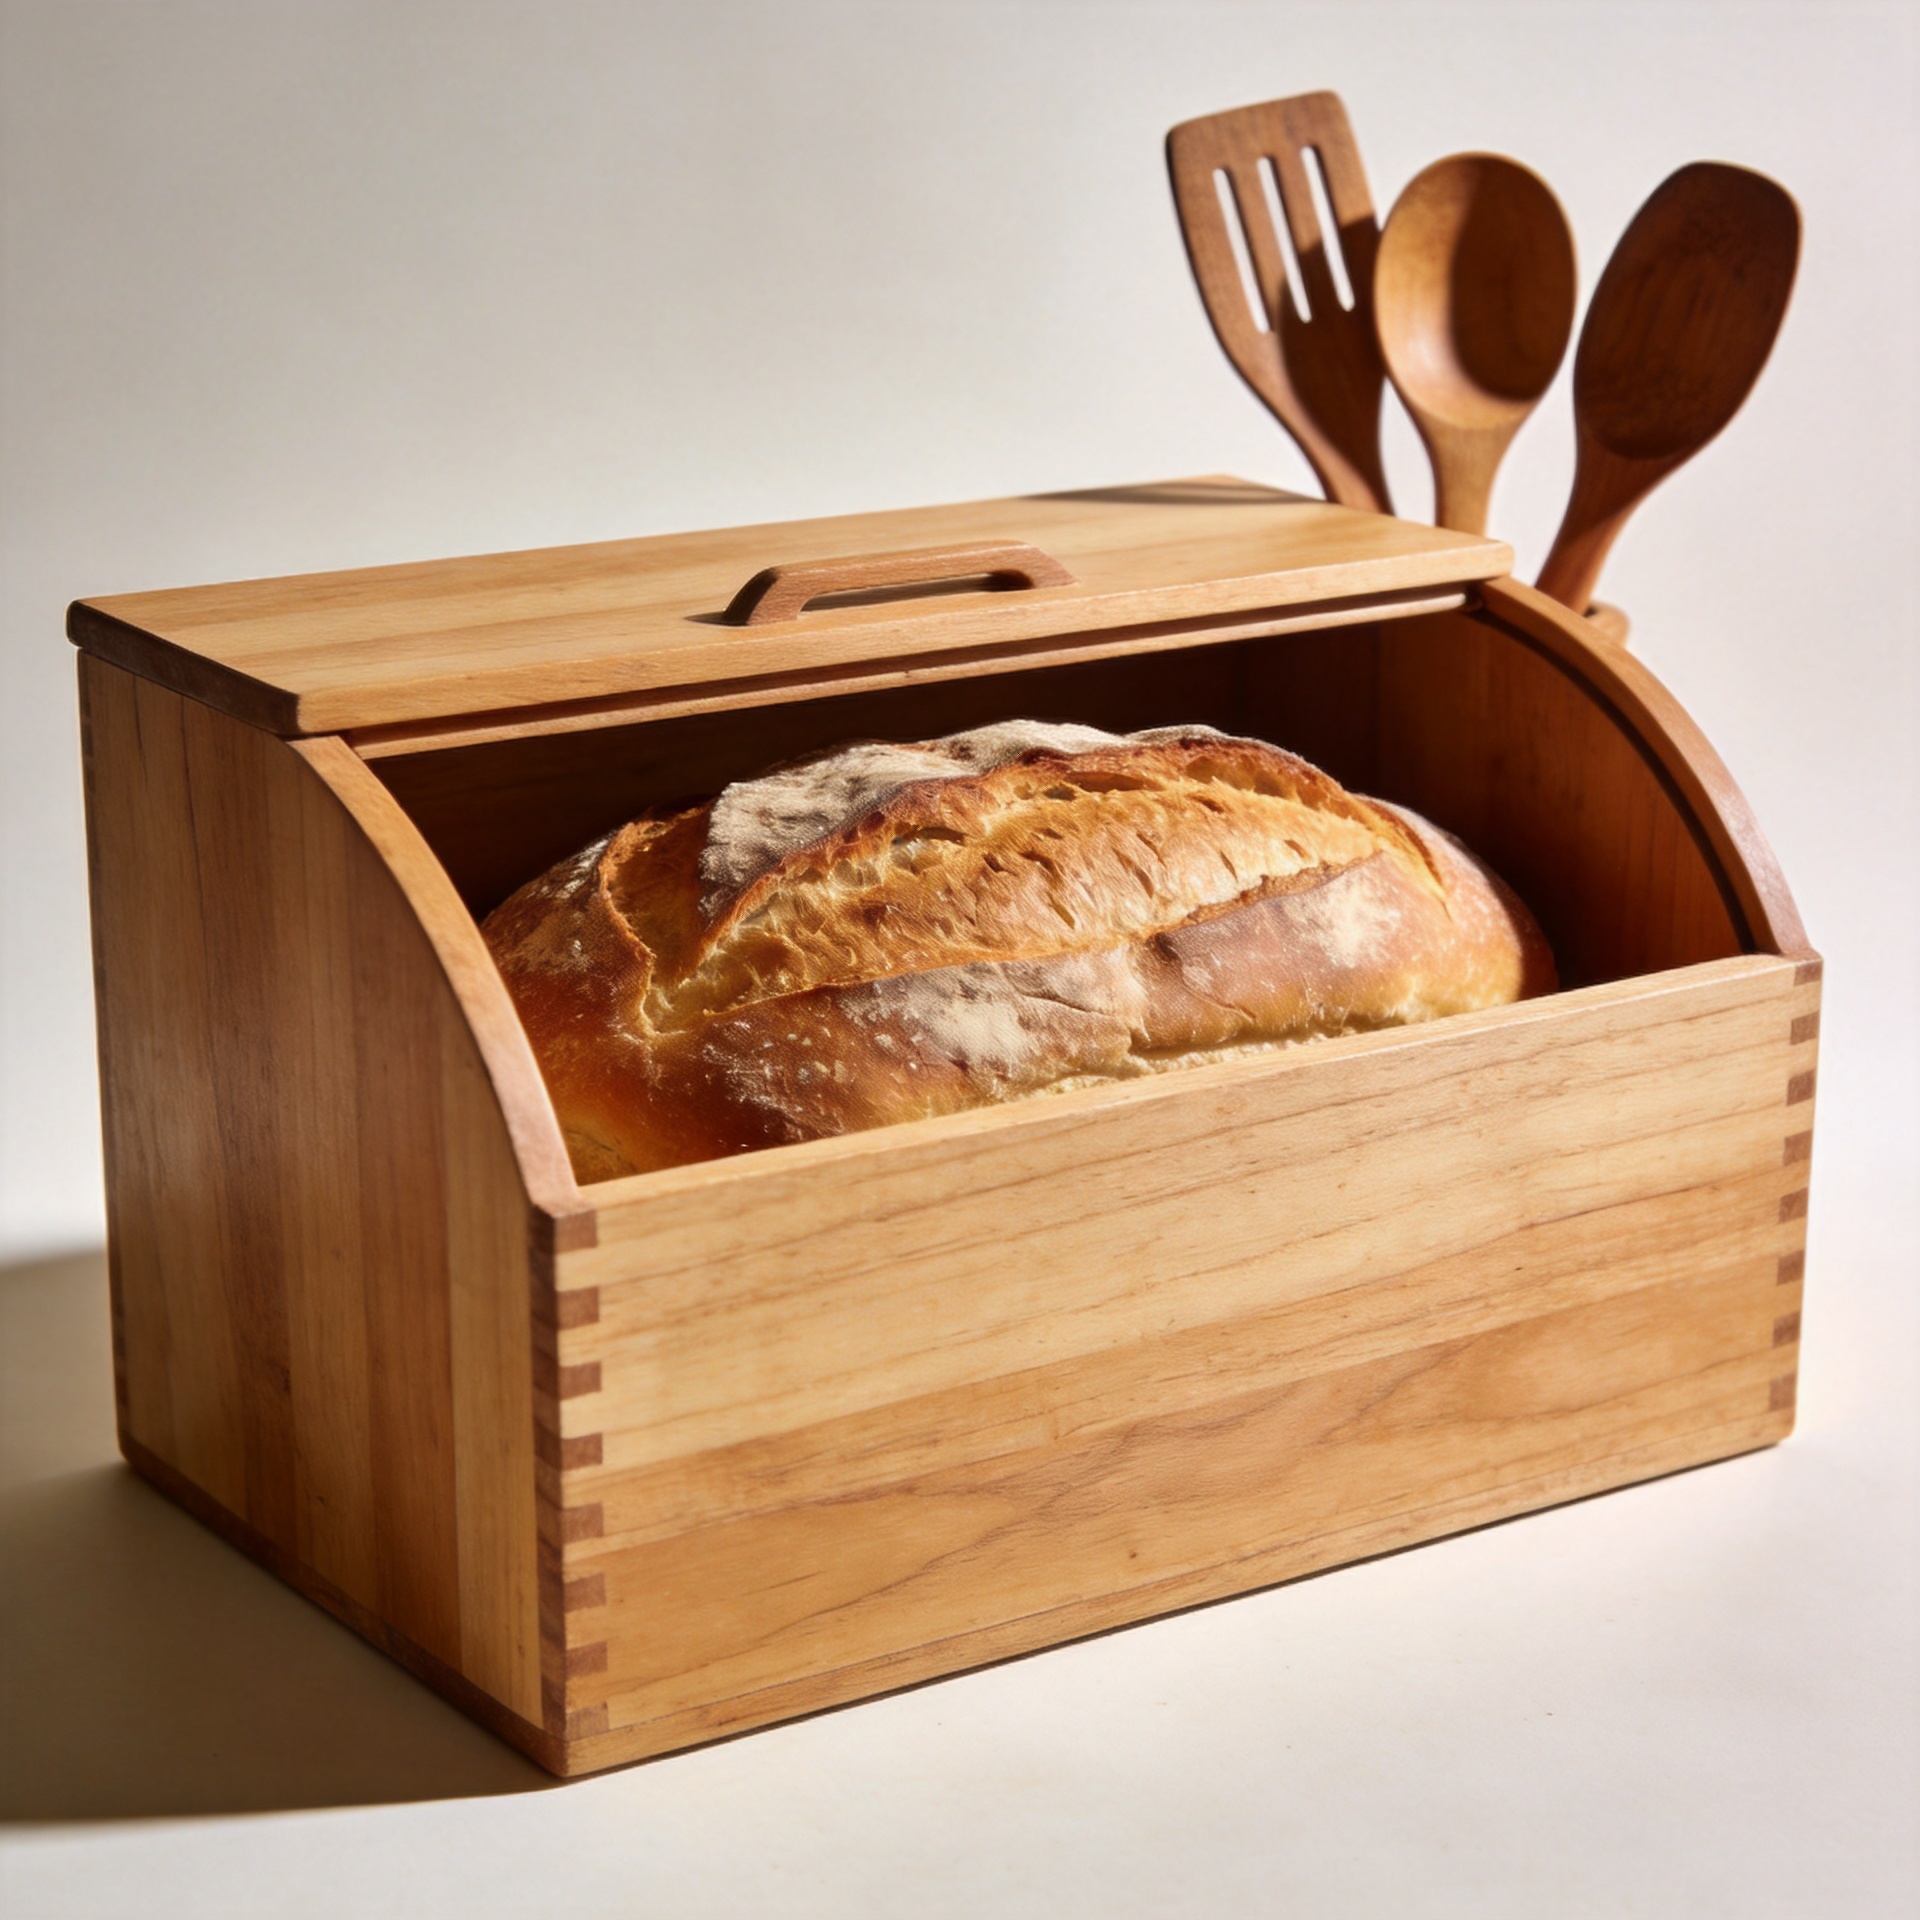
How to Keep Bread Fresh in a Wooden Bread Storage Box?
A wooden bread box can make the counter feel calmer while giving everyday loaves a protected, shaded home. It is not a freshness machine, though. Reliable results come from matching the box, the bread, and the conditions in your kitchen. The goal is simple: preserve enough moisture to keep the crumb pleasant while avoiding the trapped humidity that encourages mold.
From a working-kitchen perspective, the useful question is not whether a bread box is better than every other option. It is whether it suits the loaf you buy and the speed at which you eat it. A crusty sourdough, a soft sandwich loaf, and a warm homemade boule each need slightly different handling.
Start with the right expectation
A Wooden bread storage box is well suited to short-term bread storage at room temperature. It shields bread from light, countertop clutter, and sudden drafts, but it cannot reverse staling or make a loaf safe once mold has appeared. If your household finishes bread within a few days, a bread box can be a sensible routine. If a loaf must last longer, freeze part of it early instead of asking the box to do a freezer's job.
Temperature matters as much as the container. Baking guidance commonly places practical room-temperature storage around 60–80°F (16–27°C). A cool, dry spot away from a sunny window, oven, dishwasher steam, or radiator gives the box a better chance to work as intended. In a very hot or humid kitchen, check bread more often; more humidity is not the same as more freshness.
Step 1: Let fresh bread cool completely
Avoid putting a hot or warm loaf straight into the box. Steam leaving the bread condenses in the enclosed space, leaving the crust soft and the interior environment damp. Wait until the loaf feels fully cool at the center before closing it away. This is especially important for homemade loaves with a thick crust.
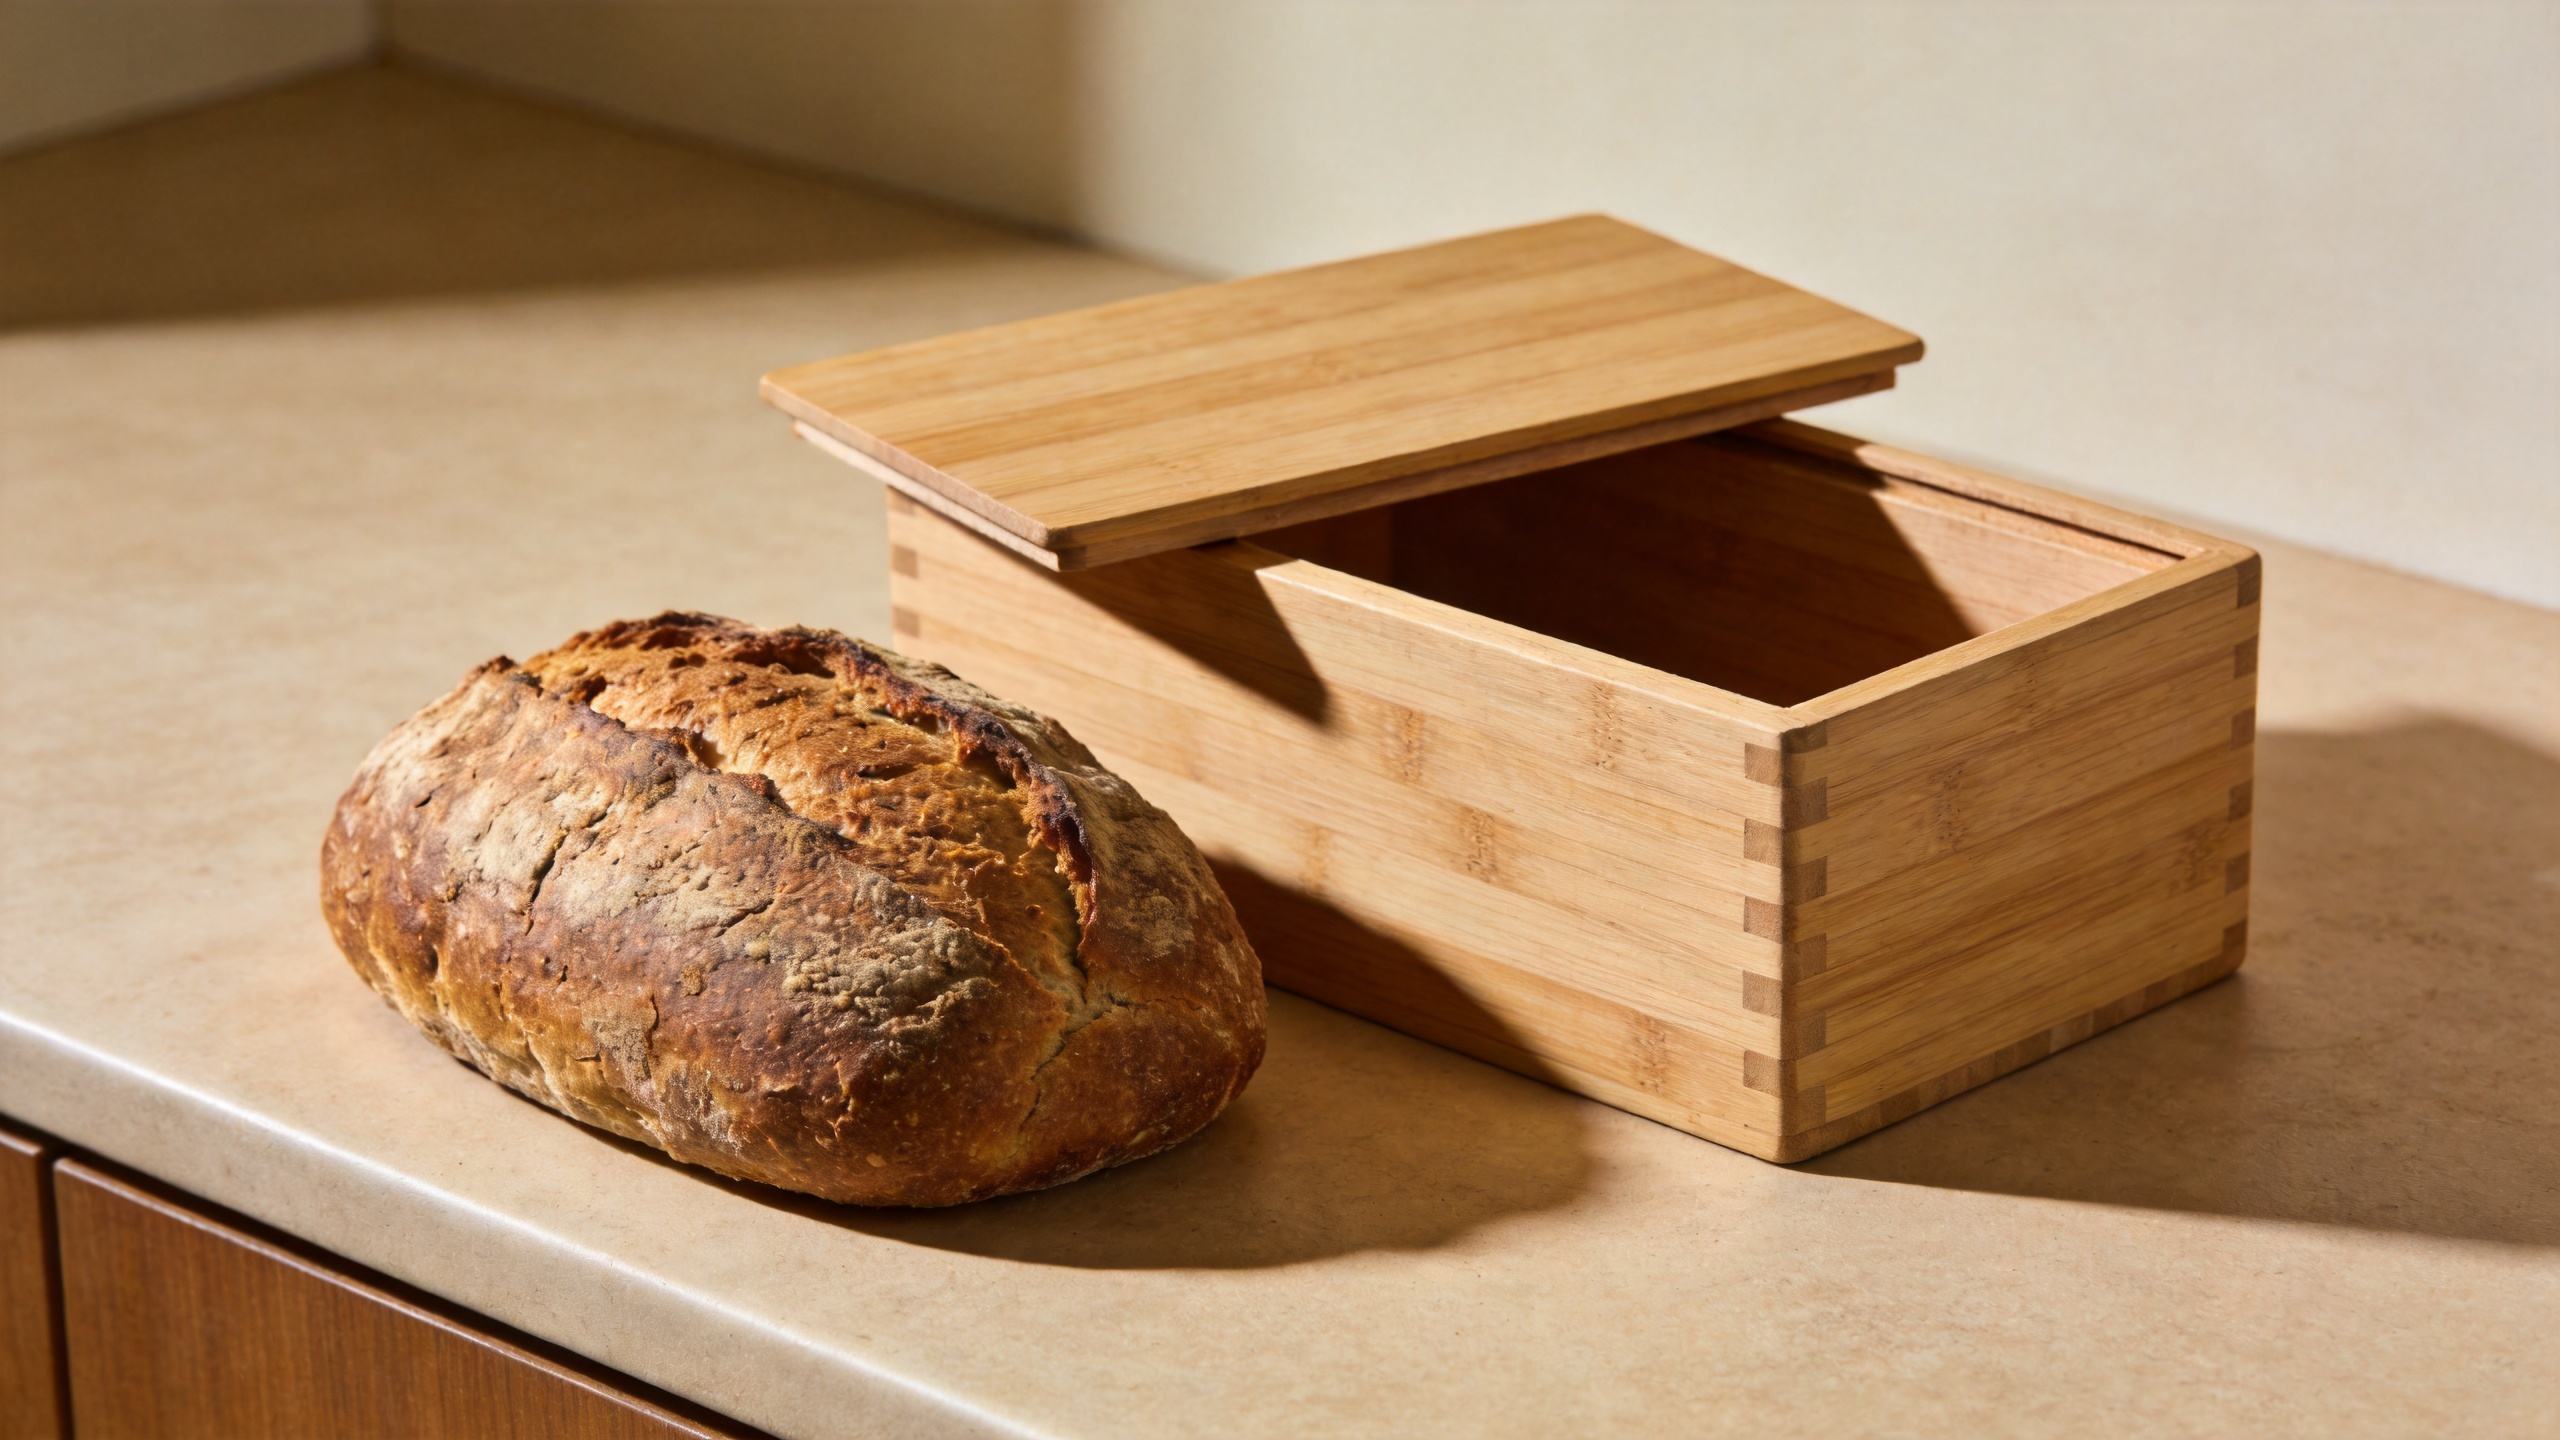
There is a small but useful reality check here: the first time you store a freshly baked loaf, a little change in crust texture is normal. That is not automatically a defect in the box or the bread. What matters is avoiding visible condensation, a damp bag, or a musty smell.
Step 2: Choose packaging for the bread style
Do not assume every loaf needs the same wrap inside a Wooden bread storage box. For crusty artisan bread, a paper bag or loose wrap often helps preserve the crust better than a tightly sealed plastic bag. For soft sandwich bread, the original bag is usually practical because the loaf benefits from retaining more moisture. The box then becomes a dark, tidy place for the bag rather than an airtight wooden food container.
- Crusty loaves: use a paper bag or cut-side-down position on a clean board if you expect to finish the loaf quickly.
- Soft sliced loaves: keep the bag closed after removing air gently; then place it in the box.
- Bagels and rolls: store only the amount you will eat soon in the box and freeze the rest in portions.
- Very moist or sweet breads: inspect daily because their moisture level can make mold appear sooner in warm conditions.
Step 3: Do not overfill the box
A bread box needs a little breathing room. Packing it with several loaves, snack bags, and kitchen items may look efficient for kitchen organization, but it reduces air circulation and makes crumbs harder to notice. Keep the box dedicated to bread where possible. If you need to hold two types of bread, separate them so a damp bag or a crumb-heavy package does not affect the rest.
Before you commit to a particular routine, ask yourself: do you buy bread faster than you eat it? If the answer is yes, better bread storage begins with portioning. Leave a two- or three-day supply in the box and freeze the remainder while it is still fresh.
Step 4: Place the box where heat and moisture cannot build up
Set the box on a stable, dry counter or in a pantry area with normal airflow. Avoid placing it on top of the refrigerator, beside a kettle, or next to a cooktop. Those spots can expose bread to changing temperature and steam. A dark cabinet can work too, provided the space is not humid and the box is easy to inspect.
A bread keeper box with a fitted lid should close neatly, but it should not be treated as a sealed humidity chamber. If the interior ever smells stale, feels damp, or shows condensation, remove the bread, empty crumbs, wipe the box, and allow it to dry completely before using it again.
Step 5: Clean crumbs before they become a problem
The overlooked part is maintaining the bread box. Shake out loose crumbs every few days and wipe the interior with a lightly damp cloth when needed. Then let the wood air-dry fully with the lid open. Do not soak the box or leave it wet; standing moisture is unhelpful for both the wood and your bread storage routine.
Good care instructions prevent avoidable disappointment. For wooden kitchenware, the simple habits—hand wiping, drying thoroughly, and avoiding prolonged soaking—matter more in daily life than a long list of impressive claims. If you notice mold on bread, discard the loaf rather than cutting away the visible patch; bread is soft and porous, so contamination can extend beyond what you see.
When the freezer is the better answer
A bread box handles the near term; the freezer handles the rest. For bread you will not use within a few days, slice or portion it after it has cooled, wrap it well, and freeze it. Take out only what you need. Refrigeration can slow mold in unusually hot conditions, but it often makes bread stale faster than room-temperature storage or freezing. If you refrigerate out of necessity, plan to toast or reheat the bread before serving.
A simple daily routine
- Cool newly baked bread completely before it goes into the box.
- Use paper for crusty bread and the original bag for soft sandwich loaves.
- Keep only a short-term supply in the box; freeze surplus portions promptly.
- Place the box away from sun, heat, steam, and damp surfaces.
- Remove crumbs, inspect bread daily in humid weather, and dry the interior fully after cleaning.
Final takeaway
A dependable bread-box routine is modest and consistent: cool bread first, package it for its style, protect it from heat and excess moisture, and freeze what you cannot finish soon. Used this way, it supports fresher everyday bread while making kitchen organization simpler and more intentional.